Umsetzungsleitfaden
Poka Yoke.
Poka Yoke ist die Lean-Praxis, einen Prozess fehlersicher zu gestalten: Eine menschliche Fehlhandlung kann entweder gar nicht mehr passieren, oder sie wird sofort sichtbar, an der Station. Ziel ist die Fehlhandlung, nicht der Mitarbeiter, denn wo ein Fehlgriff möglich ist, produzieren ihn genügend Schichten irgendwann. Gute Lösungen sind einfach, laufen im Takt mit und schlagen Endkontrolle und Schulungsnachweis. Vermeiden schlägt Entdecken, und Entdecken an der Station schlägt Prüfen am Linienende.
Was Poka Yoke ist
Poka Yoke heißt auf Japanisch sinngemäß, unbeabsichtigte Fehlhandlungen zu vermeiden, und in der Fertigung bezeichnet der Begriff eine konkrete Gestaltungsdisziplin: Verändern Sie das Teil, die Vorrichtung, das Werkzeug oder die Reihenfolge so, dass ein menschlicher Fehlgriff entweder physisch unmöglich wird oder noch im selben Zyklus sichtbar wird, an der Station, an der er passiert ist. Ein kodierter Stecker, der sich nicht verdreht zusammenstecken lässt, ist Poka Yoke. Genauso ein Drehmomentschrauber, der Verschraubungen zählt und das Gerät erst freigibt, wenn jede Verbindung einen guten Zyklus meldet.
Der Ansatz geht auf Shigeo Shingo und das Toyota-Produktionssystem zurück, und sein Kerngedanke ist eine Unterscheidung, die die meisten Qualitätssysteme verwischen: Eine Fehlhandlung ist noch kein Fehler am Produkt. Ein ausgelassener Schritt, ein verdreht eingelegtes Teil, ein falscher Griff: Solche Fehlhandlungen sind ein normales Ergebnis menschlicher Aufmerksamkeit bei repetitiver Arbeit. Fehler am Produkt sind Fehlhandlungen, die weiterlaufen durften. Die Prüfung akzeptiert die Verbindung zwischen beiden und versucht, das Ergebnis zu filtern. Poka Yoke trennt die Verbindung.
Deshalb ist das ehrliche Ziel die Fehlhandlung, nicht der Mitarbeiter. Bei 456 Geräten pro Tag taucht eine Fehlerart mit einer Wahrscheinlichkeit von eins zu zehntausend pro Zyklus etwa alle drei Wochen auf, dauerhaft, unabhängig davon, wer Schicht hat. Ein Warnaufkleber und ein Schulungsnachweis ändern an dieser Arithmetik nichts. Ein Vorrichtungsstift schon. Überall dort, wo ein Fehlgriff möglich ist, produzieren ihn genügend Schichten irgendwann. Es bleiben also drei Möglichkeiten: ihn unmöglich machen, ihn sofort sichtbar machen, oder damit planen, ihn dauerhaft beim Kunden zu finden.
Wo Poka Yoke in der Transformations-Roadmap steht
Auf der TeamGuru-Einführungs-Roadmap gehört die Fehlervermeidung zur Praxis Anlagen und Methoden in der Phase „Verbessern“, neben SMED und TPM. Poka Yoke ist eine Disziplin der Umsetzung, und deshalb braucht sie eine Zielliste. Die Prioritätszeilen einer gelebten FMEA und die verifizierten Ursachen, die in Fällen der Ursachenanalyse und Korrekturmaßnahmen immer wiederkehren, sind die Quelle guter Poka-Yoke-Projekte. Eine Lösung ohne diese vorgelagerte Arbeit ist eine Vermutung mit angebautem Sensor.
- Davor Shopfloor Management
- Sie sind hier SMED, TPM, FMEA & Poka Yoke
- Parallel dazu Kaizen
- Danach Obeya & Managementbewertung
Wann Poka Yoke nicht passt
Fehlervermeidung hat einen starken Anspruch auf jedes Qualitätsbudget, und genau deshalb braucht sie Kriterien für ein Noch-nicht. Bauen Sie keine Lösung, wenn:
- Sie nicht beschreiben können, wie der Fehler tatsächlich entsteht. Hat das Team die Fehlhandlung nicht beobachtet oder reproduziert, blockiert die Lösung eine Vermutung. Eine falsche Theorie zu automatisieren führt zu einer Station, die schwerer zu bedienen und genauso ungeschützt ist wie vorher.
- Das Risiko gering ist, während der wichtigste Fehler offen bleibt. Eine kosmetische Fehlerart mit Sensoren zu vergolden, während der häufigste Durchschlupf zum Kunden keine Barriere hat, ist ein Portfoliofehler. Ordnen Sie Fehlerarten zuerst nach Konsequenz und Durchschlupfhistorie, dann arbeiten Sie die Liste ab.
- Der Schritt sich schlicht eliminieren lässt. Wenn aus einer Schraubverbindung ein umgeformtes Merkmal werden kann oder aus einer manuellen Eingabe ein Barcode-Scan, ist das Entfernen der Gelegenheit besser als ihre Absicherung. In der Wirksamkeitshierarchie weiter unten steht das Eliminieren auf Platz eins, und es wird zuerst geprüft.
So setzen Sie eine Lösung um
Eine Fehlerart nach der anderen, am Prozess, mit der Mannschaft. Die Reihenfolge:
-
Wählen Sie den wichtigsten Durchschlupf.
Nehmen Sie ihn aus der Prioritätsliste der FMEA, aus wiederkehrenden Grundursachen und aus der Historie der Kundenreklamationen, nicht daraus, wo sich am leichtesten ein Sensor anbringen lässt. Eine Fehlerart, eine Station, eine Lösung. Ein werksweites Programm zur Fehlervermeidung, das überall gleichzeitig startet, produziert vor allem Meetings.
-
Untersuchen Sie, wie der Fehler tatsächlich entsteht.
Beobachten Sie echte Zyklen an der Station, auch am Schichtende, beim Rüsten und in der Nacharbeit, denn dort häufen sich die Fehlhandlungen. Fragen Sie die Mitarbeiter nach den Fallen; sie können meist den Beinahefehler benennen, den sie jede Woche abfangen. Schreiben Sie den Fehlermechanismus in einem Satz auf, bevor Sie irgendetwas konstruieren.
-
Wählen Sie die höchste machbare Stufe der Hierarchie.
Vermeiden schlägt Entdecken, Entdecken an der Station schlägt Entdecken im nachgelagerten Prozess, und alles schlägt die Endkontrolle. Zur Machbarkeit gehören Takt und Instandhaltung: Eine einfachere Lösung, die im Takt zuverlässig läuft, schlägt eine stärkere, die jeden Monat einen Spezialisten braucht.
-
Erproben Sie sie mit der Mannschaft, die damit arbeiten wird.
Bauen Sie den Prototyp günstig und lassen Sie ihn ein bis zwei Wochen im Takt laufen. Zählen Sie Fehlauslösungen ab dem ersten Tag: Eine Lösung, die gute Teile beanstandet, bringt dem Bereich bei, sie zu ignorieren, und eine ignorierte Lösung ist schlechter als keine, weil sie wie Schutz aussieht.
-
Verifizieren Sie mit Daten, nicht mit einer Vorführung.
Vergleichen Sie die nachgelagerte Fehlerrate vor und nach der Einführung, über genug Stückzahl, damit der Vergleich etwas bedeutet. Halten Sie die Rate der Fehlauslösungen und die Auswirkung auf die Zykluszeit fest. Der Abnahmetest: Die Lösung löst an einem absichtlich schlechten Musterteil zuverlässig aus.
-
Schreiben Sie sie in die standardisierte Arbeit und den Control Plan.
Die Funktionsprüfung zu Schichtbeginn gehört in die standardisierte Arbeit des Mitarbeiters, die Lösung wird eine Zeile im Control Plan, und jede Auslösung bekommt einen vereinbarten nächsten Schritt. Eine undokumentierte Lösung wird in dem Monat nicht mehr geprüft, in dem ihr Fürsprecher die Stelle wechselt.
Der letzte Schritt entscheidet, ob die Lösung in einem Jahr noch wirkt. Die Prüfung mit dem Musterteil gehört in die standardisierte Arbeit des Mitarbeiters, die Lösung gehört in den Control Plan, und beides gehört in Layered Process Audits, denn eine Lösung, die niemand verifiziert, schützt niemanden.
Rechenbeispiel: die Verschraubungsstation
Der Komponentenhersteller mit 450 Beschäftigten, der in diesen Leitfäden durchgängig als Beispiel dient, fertigt 456 Geräte pro Tag in zwei Schichten, mit einem Takt von 118 Sekunden in der Endmontage. Immer wieder trat derselbe Fehler auf: eine zu schwach angezogene Hydraulikverschraubung, gefunden bei der Druckprüfung und gelegentlich beim Kunden. Ein Fall der Ursachenanalyse hatte bereits eine saubere Drehmomentvorgabe hervorgebracht, doch der Durchschlupf kam etwa einmal pro Woche zurück, weil der verbliebene Fehler kein Wissensproblem war. Jedes Gerät trägt sechs Verschraubungen, und unter Zeitdruck bekam die sechste Verbindung manchmal den Schrauber, aber nicht den vollständigen Zyklus. Die Zahlen sind illustrativ, das Muster ist es nicht.
Die Maßnahme war ein Drehmomentschrauber mit Messwertaufnehmer und Schraubfallzählung, also eine zählende Lösung aus der Tabelle der Wirkprinzipien weiter unten. Der Schrauber zählt gute Drehmomentzyklen, und die Aufnahme hält das Gerät fest, bis sechs Gut-Signale registriert sind; eine ausgelassene oder unvollständige Verbindung lässt die Station aufleuchten und sperrt die Freigabe, alles innerhalb des Zyklus von 118 Sekunden. Der zweiwöchige Testlauf brachte ein echtes Konstruktionsproblem ans Licht: Geräte aus der Nacharbeit kamen mit bereits angezogenen Verbindungen an und lösten Fehlauslösungen aus. Die Nacharbeit bekam daher einen eigenen Modus mit Freigabe durch den Meister und einem Protokolleintrag. Nach vier Wochen sauberer Daten fiel der Durchschlupf zu schwach angezogener Verschraubungen in der Druckprüfung auf null, und die aus dem Fall der Ursachenanalyse übernommene 100-Prozent-Prüfung wurde auf eine Stichprobe zurückgefahren.
Die vier Wirkprinzipien
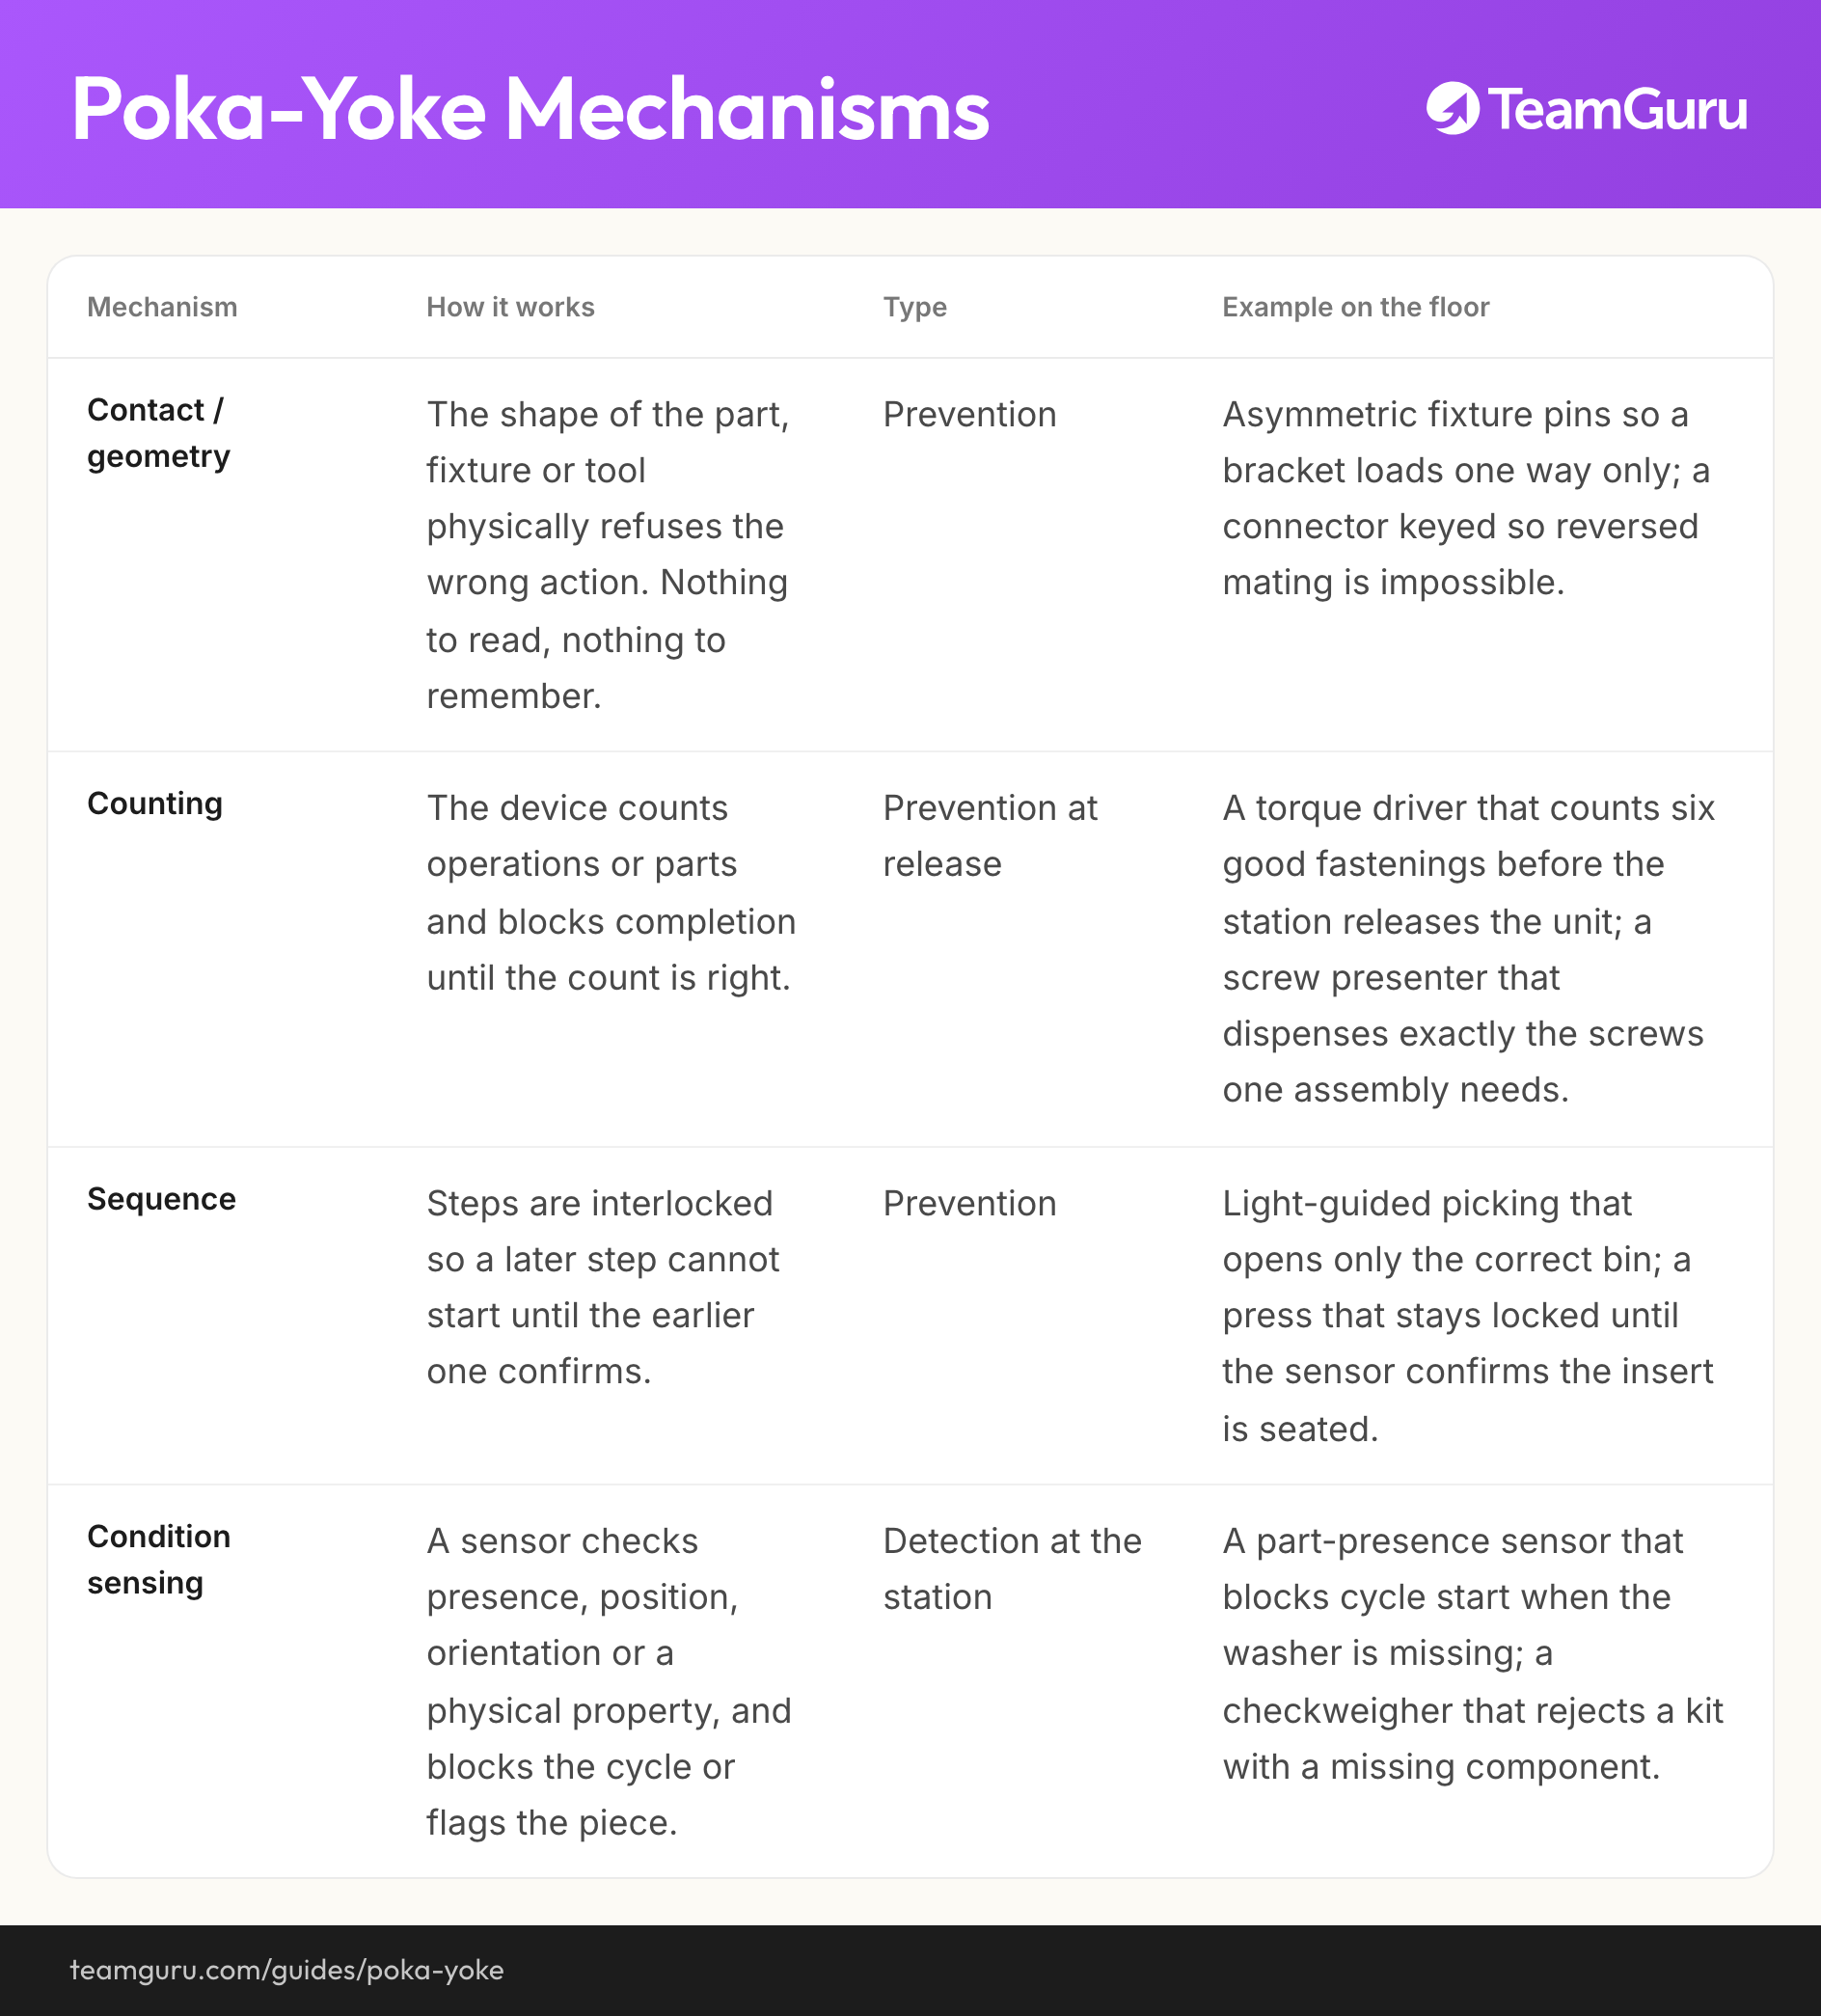
Die meisten funktionierenden Lösungen sind, quer über sehr unterschiedliche Produkte hinweg, Varianten von vier Wirkprinzipien. Die Familien sind wichtig, weil sie eine Konstruktions-Checkliste bilden: Wenn ein Team nicht weiß, wie es einen Schritt fehlersicher machen soll, liefert das Durchgehen dieser vier meist zwei oder drei Kandidaten.
| Wirkprinzip | So funktioniert es | Typ | Beispiel aus der Fertigung |
|---|---|---|---|
| Kontakt / Geometrie | Die Form von Teil, Vorrichtung oder Werkzeug verweigert die falsche Handlung physisch. Nichts zu lesen, nichts zu merken. | Vermeidung | Asymmetrische Aufnahmestifte, sodass sich ein Halter nur in einer Lage einlegen lässt; ein kodierter Stecker, der verdreht nicht passt. |
| Zählen | Die Lösung zählt Arbeitsgänge oder Teile und blockiert den Abschluss, bis die Anzahl stimmt. | Vermeidung bei der Freigabe | Ein Drehmomentschrauber, der sechs gute Verschraubungen zählt, bevor die Station das Gerät freigibt; ein Schraubenspender, der genau die Schrauben ausgibt, die eine Baugruppe braucht. |
| Reihenfolge | Die Schritte sind verriegelt: Ein späterer Schritt kann erst starten, wenn der frühere bestätigt ist. | Vermeidung | Pick-by-Light, das nur den richtigen Behälter öffnet; eine Presse, die verriegelt bleibt, bis der Sensor den korrekten Sitz des Einlegeteils bestätigt. |
| Zustandserfassung | Ein Sensor prüft Anwesenheit, Position, Lage oder eine physikalische Eigenschaft und blockiert den Zyklus oder kennzeichnet das Teil. | Entdeckung an der Station | Ein Teileanwesenheitssensor, der den Zyklusstart blockiert, wenn die Scheibe fehlt; eine Kontrollwaage, die ein Set mit fehlender Komponente aussteuert. |
Über die dritte Spalte sollten Sie in Konstruktionsbesprechungen streiten. Fragen Sie bei jedem Lösungsvorschlag, was er in dem Moment tut, in dem die Fehlhandlung passiert: Macht er sie unmöglich, stoppt er das Teil, oder schreibt er nur einen Datensatz? Datensätze sind für die Verbesserung nützlich; nur die ersten beiden schützen den Kunden.
Die Wirksamkeitshierarchie
Wenn eine verifizierte Fehlerart eine Maßnahme braucht, gehen Sie diese Leiter von oben nach unten durch und halten Sie auf der höchsten Stufe an, die machbar ist. Jede Stufe weiter unten bedeutet eine längere Rückkopplung und eine schwächere Garantie.
-
Den Schritt eliminieren
VermeidungDie Gelegenheit verschwindet: Aus der Schraubverbindung wird ein umgeformtes Merkmal, aus der manuellen Eingabe ein Scan, das Teil kommt vormontiert an. Kein Schritt, keine Fehlhandlung.
-
Die Fehlhandlung unmöglich machen
VermeidungGeometrie, Kodierung und Verriegelungen verweigern die falsche Handlung physisch. Das verkehrt herum eingelegte Teil passt nicht; die Presse fährt nicht, bevor die Schutztür geschlossen ist.
-
Die Fehlhandlung an der Station sichtbar machen
Entdeckung an der StationDer Fehlgriff passiert weiterhin, aber die Lösung stoppt das Teil oder meldet es am Arbeitsplatz, innerhalb des Zyklus. Korrigiert wird an der Station, an der der Fehler entstanden ist, und in dem Moment, in dem er entsteht.
-
Nachgelagert entdecken
Späte EntdeckungDer nächste Prozess findet den Fehler, Minuten oder Stunden später. Das Teil ist gewandert, die Spur ist kalt, und das Sortieren beginnt.
-
Am Ende prüfen
Späte EntdeckungDie Endkontrolle filtert, was der Prozess produziert hat. Sie fängt vieles ab, beweist nichts über die Ursache und stellt Ihnen jede Schicht aufs Neue eine Rechnung, dauerhaft.
-
Warnen und schulen
OrganisatorischAufkleber, Schilder und Schulungsnachweise. Als Begleitung einer technischen Lösung nützlich; als einzige Barriere sind sie ein dokumentierter Plan, demjenigen die Schuld zu geben, der zufällig dort steht, wenn das Unvermeidliche eintritt.
Die untersten beiden Stufen sind überhaupt keine Fehlervermeidung. Sie sind das, was ein Prozess hat, während er auf eine Lösung wartet, und der ehrliche Umgang mit der Leiter besteht darin, jede Fehlerart, die heute nur durch Stufe 5 oder 6 abgesichert ist, als offenen Punkt auf der Verbesserungsliste zu führen.
Einfach schlägt raffiniert
Ein ausgereiftes Poka-Yoke-Portfolio wirkt bei einer Werksführung unspektakulär: Stifte, Führungen, Schablonen, Zähler, Endschalter. Das ist eine Stärke. Ein asymmetrischer Stift für 40 Euro, der falsches Einlegen unmöglich macht, schlägt ein Bildverarbeitungssystem, das niemand pflegt, und der Grund gehört ausgesprochen: Der Stift driftet nicht, hängt nicht von der Beleuchtung ab, hat keine Parameter und braucht keinen Spezialisten. Wenn er kaputtgeht, geht er sichtbar kaputt. Komplexe Entdeckung fällt leise aus, und eine leise ausgefallene Lösung ist schlechter als keine, weil der Bereich sich geschützt glaubt.
Der zweite Grund für einfache Lösungen liegt darin, wer sie überhaupt entwerfen kann. Die Mitarbeiter wissen, wo die Fallen sind: welche zwei Etiketten sich um 3 Uhr nachts ähnlich sehen, welches Teil beinahe verkehrt herum passt, welcher Schritt ausgelassen wird, wenn die Linie hinterherläuft. Machen Sie die Fehlervermeidung zu einem festen Bestandteil von Kaizen: eine Idee zur Fehlervermeidung pro Team und Monat, umgesetzt vom Team gemeinsam mit der Instandhaltung, kostet wenig und beseitigt stetig Fallen, die kein Investitionsprojekt je erreichen würde.
Was gute Lösungen gemeinsam haben
- Sie kosten keine zusätzliche Bewegung und praktisch keine Sekunden: Bei einem Takt von 118 Sekunden wird eine Lösung, die drei Sekunden pro Zyklus kostet, bis Donnerstag umgangen.
- Sie fallen sicher aus: Wenn die Lösung selbst ausfällt, stoppt die Station, statt ungeprüfte Teile durchzulassen.
- Sie lassen sich in einer Minute mit einem bekannt schlechten Musterteil prüfen, damit die Kontrolle zu Schichtbeginn tatsächlich stattfindet.
- Sie sind für alle im Bereich verständlich: Eine Mannschaft, die nicht erklären kann, was geprüft wird, kann auch nicht bemerken, wenn nicht mehr geprüft wird.
- Sie sind günstig genug zum Kopieren, damit die zweite und dritte Station keinen Budgetzyklus brauchen.
Typische Fehlschläge
Der klassische Fehlschlag ist die umgangene Lösung, und die klassische Reaktion liest das als Disziplinproblem. Lesen Sie es zuerst als Rückmeldung: Eine umgangene Lösung kostet fast immer Sekunden, die der Takt nicht hergibt, oder sie schlägt bei guten Teilen Alarm. Menschen umgehen keinen Schutz, der funktioniert und sie nichts kostet. Korrigieren Sie die Gestaltung, und sprechen Sie danach über Disziplin, falls dann noch etwas zu besprechen ist.
So sieht es schlecht aus
- Lösungen werden mit Klebeband, Brücken oder einem gemeinsamen Override-Code umgangen, weil sie den Zyklus verlängern
- Alarme kommen so häufig, dass der Bereich gelernt hat, durch den Lärm hindurchzuarbeiten
- Eine Auslösung hat keinen vereinbarten nächsten Schritt, sodass gekennzeichnete Teile zurück in den Fluss geraten
- Niemand verifiziert die Lösungen, sodass ein toter Sensor wochenlang Fehler durchlässt
- Fehlervermeidung existiert als Liste von Investitionsanträgen und wartet auf das Budget des nächsten Jahres
So sieht es gut aus
- Die Lösung stoppt das Teil innerhalb des Zyklus, an der Station, die den Fehler erzeugt hat
- Jede Auslösung hat einen Reaktionsplan: Teil eindämmen, Auslösung protokollieren, Entscheider benennen
- Eine Prüfung mit dem Musterteil zu Schichtbeginn belegt, dass die Lösung noch auslöst
- Die Rate der Fehlauslösungen wird verfolgt und im ersten Monat gegen null gefahren
- Die nächste Lösung zielt auf den wichtigsten Durchschlupf der FMEA-Prioritätsliste
Nach der Lösung: die Prüfung zurückfahren
Eine Lösung mit sauberen Daten verändert die nachgelagerte Rechnung. Sofortmaßnahmen, die im Feuerwehrmodus eingeführt wurden, können auf Stichproben zurückgefahren werden, die Endkontrolle schrumpft in Richtung Audit, und Ausschuss und Nacharbeit belasten die Qualitätskennzahlen der KPI-Baseline nicht länger, während sich der Qualitätsfaktor der OEE (Gesamtanlageneffektivität) erholt. Das ist der Ertrag, den die Hierarchie verspricht: Vermeidung wird einmal bezahlt und zahlt weiter, während die Prüfung jede Schicht abrechnet.
Es bleibt die Führungskette rund um die Auslösungen. Eine Lösung, die ein Teil stoppt, hat die halbe Arbeit getan; jemand muss das Teil noch eindämmen, über seine Verwendung entscheiden und bemerken, dass dieselbe Fehlerart in diesem Monat neunmal ausgelöst hat, was ein Auftrag zur Problemlösung ist und keine Zeile im Schichtbuch. Genau hier passt TeamGuru: Der Einsatzbereich Qualitäts-Alerts gibt jeder ausgelösten Lösung einen Reaktions-Workflow, mit dem Alert direkt an der Station, mit Eindämmung und Verwendungsentscheid, getragen von Verantwortlichen mit Terminen, und mit Wiederholauslösungen, die sichtbar genug sind, um einen Fall der Ursachenanalyse einzufordern.
Auf der Roadmap läuft die Fehlervermeidung innerhalb der Praxis Anlagen und Methoden weiter, während die FMEA neue Prioritäten liefert, parallel zu den laufenden Kaizen-Ideen, und ihre Ergebnisse erreichen Obeya und Managementbewertung des Werks als weniger Durchschlupf und sinkende Fehlerkosten.
Zum Mitnehmen
Das Diagramm aus diesem Leitfaden als Bild, frei verwendbar in internen Schulungen und Workshops.
PNG herunterladenHäufig gestellte Fragen
Was bedeutet Poka Yoke?
Was ist der Unterschied zwischen vermeidenden und entdeckenden Poka-Yoke-Lösungen?
Welche Poka-Yoke-Beispiele gibt es in der Montage?
Was kostet eine Poka-Yoke-Lösung?
Wer sollte Poka-Yoke-Lösungen entwickeln?
Was passiert, wenn eine Poka-Yoke-Lösung auslöst?
So setzt TeamGuru das um